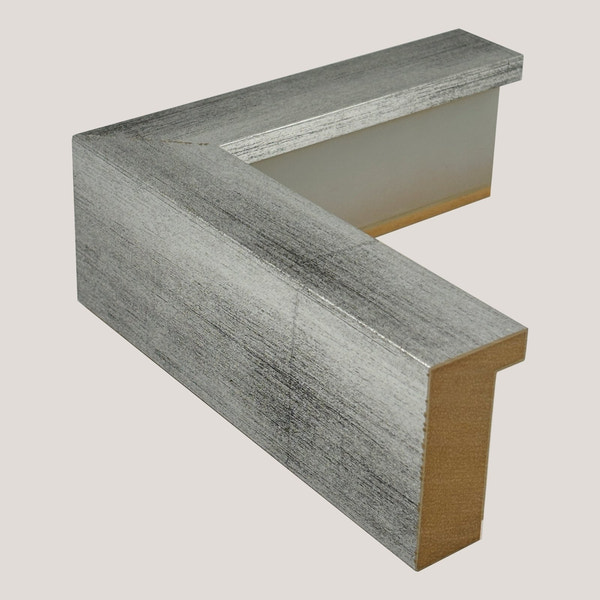
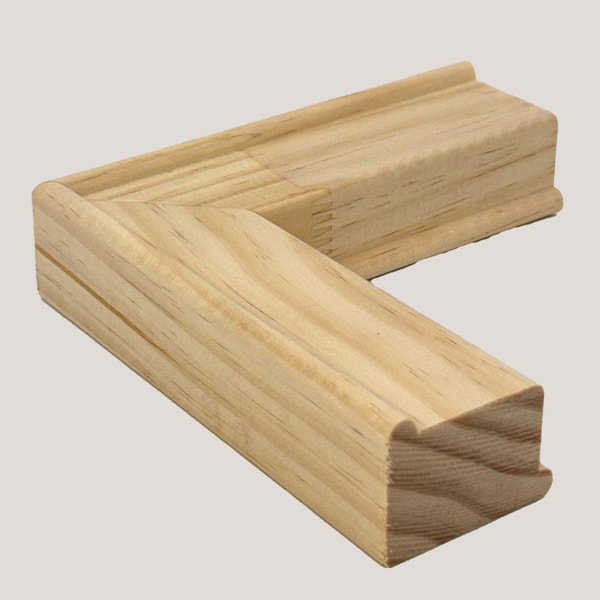
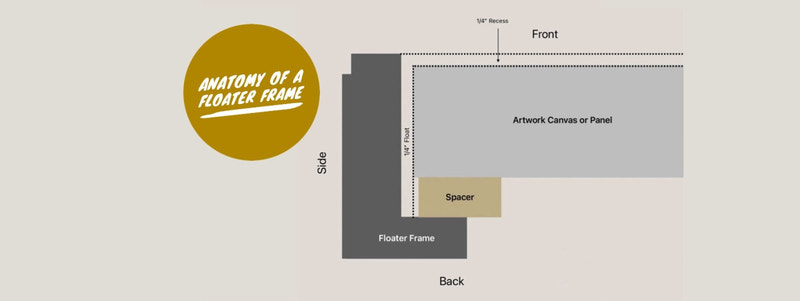
A picture frame rabbet is a groove on the inside edge, but it be confusing with floater frames. This groove is designed to accommodate and hold the artwork, matting, glass, or any other components within the frame assembly. The importance of the rabbet varies between traditional frames and floater frames.

-
Traditional Frames First:
-
In traditional frames, unlike floater frames, the rabbet is crucial for securely holding the artwork in place.
-
It also serves as a visual border around the artwork, enhancing its presentation and protecting it from external elements.
-
Traditional frames typically have a 1/2” rabbet depth to accommodate mats, backing boards, and glazing.
-
Stretched canvas may require offset clips for assembly if it is thicker than the rabbet.
-
Choose offset clips that match the thickness of your canvas/panel and the depth of your frame. Offset clips come in different sizes to accommodate various thicknesses, so pick the ones that best match your artwork's dimensions.
-
Position the Artwork: Place your stretched canvas or panel into the frame. Center the artwork for display.
-
Attach the Offset Clips: You may need multiple offset clips along each side, depending on your artwork's thickness and the frame. Use a screwdriver or a similar tool to secure the offset clips to the back of the frame. Make sure to position them evenly along the edges of the artwork.

-
Check for Alignment: Ensure that the canvas or panel remains centered and level within the frame. Make any necessary adjustments to the tension of the offset clips to achieve a snug fit.
-
Secure the Hanging Hardware: After attaching the offset clips, make sure to install appropriate hanging hardware, such as D-rings or wire, to the back of the frame. This will allow you to hang the framed artwork securely on the wall.
-
Using offset clips provide a secure and reliable way to mount your stretched canvas or panel within a traditional frame. The clips help to maintain the position of artwork and prevent it from shifting or falling out of the frame. This ensures the artwork iis displayed neatly and securely.
-
Floater Frames:
-
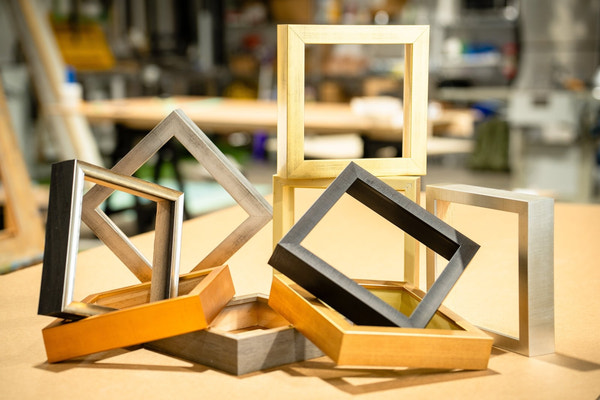
In floater frames, the rabbet plays a different but equally important role. Floater frames display artwork that makes it appear as if it's floating within the frame, leaving a small gap or "float" between the artwork and the frame.
-
The rabbet in a floater frame is typically shallower than in traditional frames. It creates a supportive ledge for the artwork to rest on while allowing the edges of the artwork to be visible from the front.
-
Floater frames are popular for showcasing canvas paintings or panels, emphasizing the artwork's depth and texture while providing protection.
-
Measure the Floater Frame Rabbet:Begin by measuring the depth and width of the rabbet inside the floater frame. Use a tape measure or a depth gauge to get accurate measurements.
-
Note down the dimensions of the rabbet, as this will be the space where your artwork will sit.
-
-
Spacers for Floater Frames
-
Choose and Prepare Spacers: Depending on the thickness of your artwork and the depth of the rabbet, you'll need to select appropriate spacers or cradles. At Articient, we make 3/4” thick corner spacers (similar in size to a corner sample) from wood allowing them to be attached to various-sized canvases and panels. Our 3/4” thick cradles are similar to complete frames and are custom-made to go with your chosen frame. Our 1 ½” cradles are generally used with thinner panels and also provide support for the panel/artwork itself. All cradles are basically frames that go between your artwork and floater to help adjust the height of the artwork in the rabbet.
-
Cut the spacers to fit within the rabbet. The goal is to ensure that the artwork sits flush with the front face of the frame when mounted.
-
-
Attaching Spacers
-
Attach Spacers or Cradles: Apply adhesive, screws, or attach mounting brackets to the back of the spacers or cradles. Position the spacers or cradles inside the rabbet, making sure they are centered and evenly spaced along the edges of the artwork. Press the spacers or cradles firmly against the back of the frame to secure them in place. Ensure they are level and flush with the rabbet.

-
Mount the Artwork: With the spacers or cradles in position, carefully place your artwork on top of them. The spacers or cradles will elevate the artwork, creating a gap between the back of the artwork and the frame while keeping the front of the artwork flush with the frame's face.
-
Secure the Artwork: Use appropriate mounting hardware, such as screws or D-rings, to attach the artwork to the spacers or cradles securely. Ensure the artwork is level and centered within the frame.
-
Assemble the Frame: Finally, assemble the floater frame around the artwork, making sure the artwork has the desired “float” around all four sides. Many artists use canvas keys in each corner to center and attach their artwork.
-
Secure the frame components together as per the frame's design, and your artwork should appear to float within the frame with a small, even gap around it.
-
In Conclusion
By following these steps and adjusting the thickness of the spacers or cradles as needed, you can achieve a flush and visually appealing presentation of your artwork within a floater frame. The key is to measure the rabbet accurately, select appropriate spacers or cradles, and secure the artwork in place while maintaining the desired float effect.
In summary, the picture frame rabbet serves as the housing for the artwork in both traditional and floater frames, with its depth and design tailored to the specific framing style and desired presentation. The rabbet allows the artwork to be securely held and properly displayed within the frame, enhancing its visual appeal and protection.
